
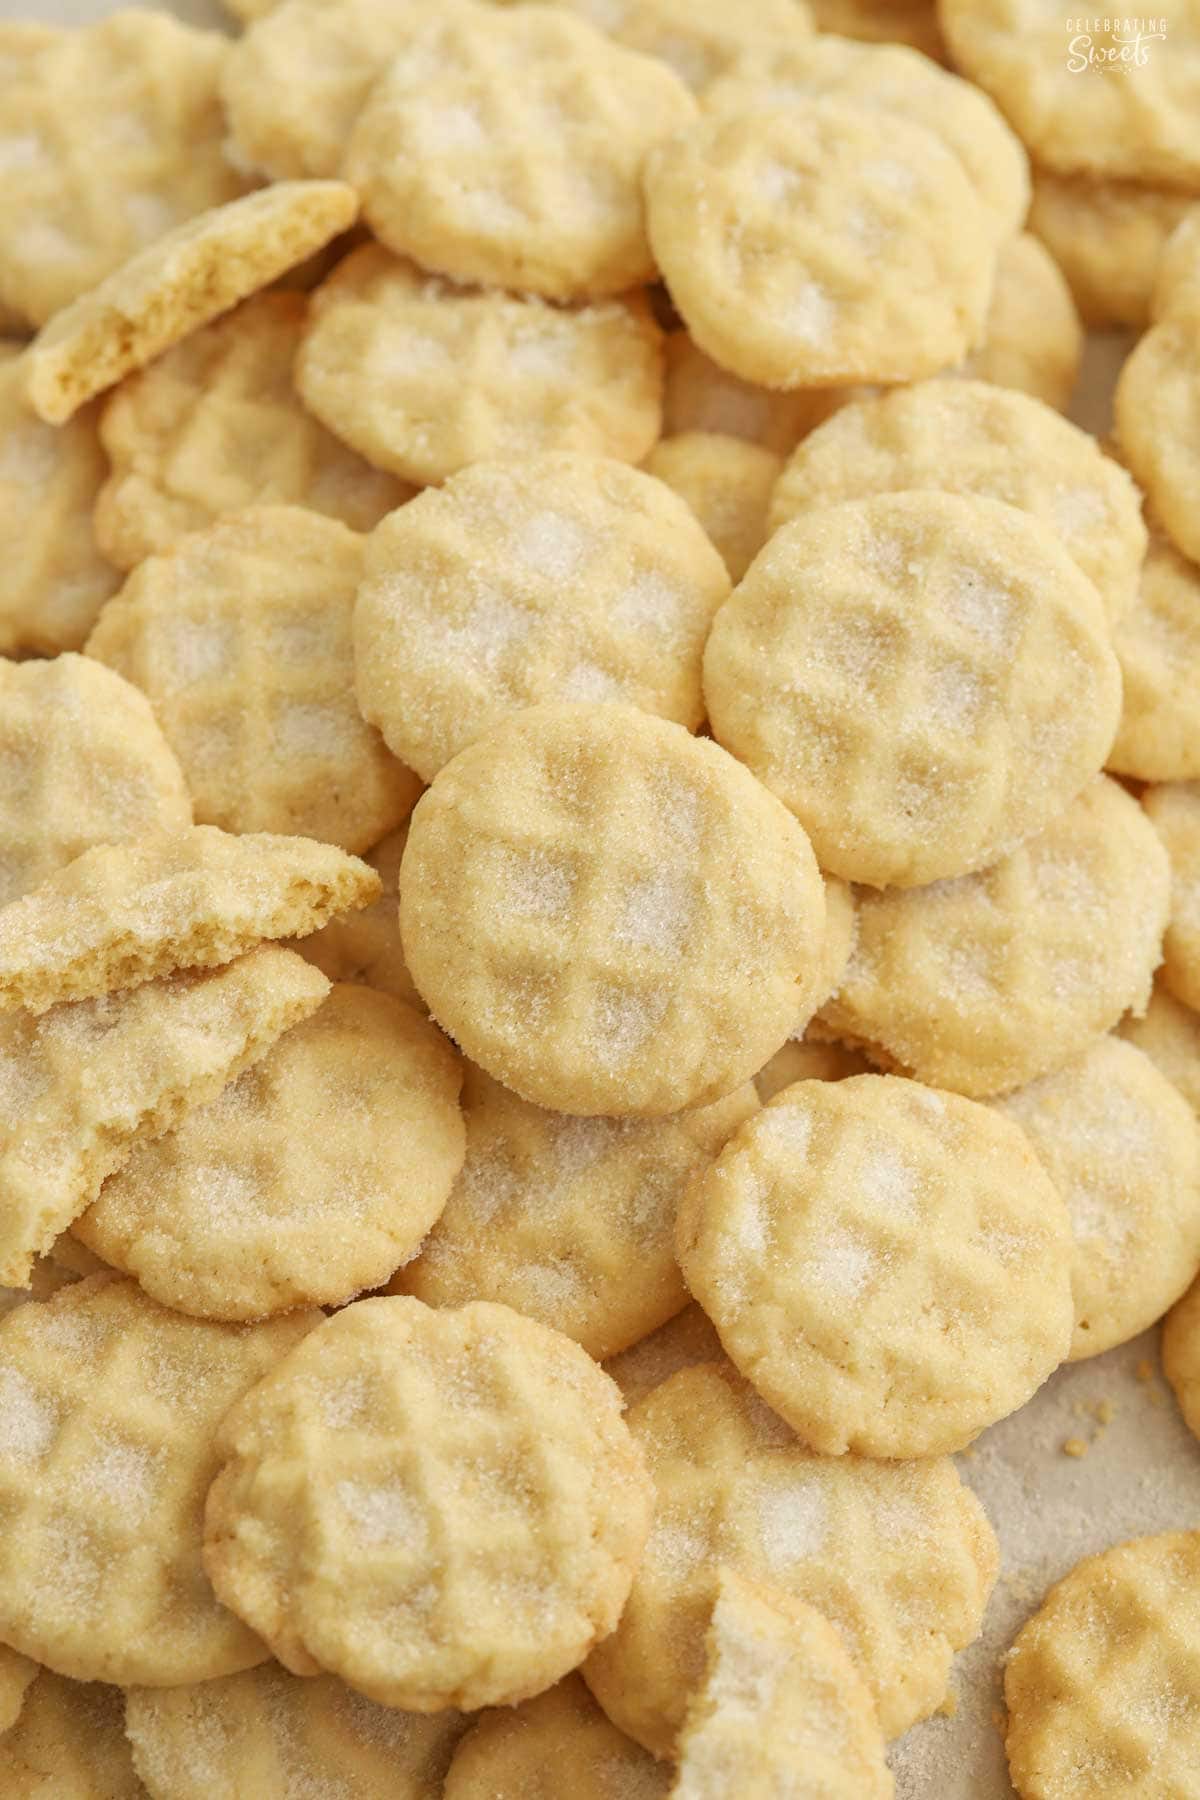
These tiny cookies are crunchy and buttery with a melt-in-your-mouth texture. They are perfect for the holidays – put them on your cookie platter, give them as a gift, or place them in a bowl for nonstop nibbling.
Although I love a soft and chewy sugar cookie, these crunchy little bites are easily my favorite sugar cookie.
Jump to:
What sets this recipe apart
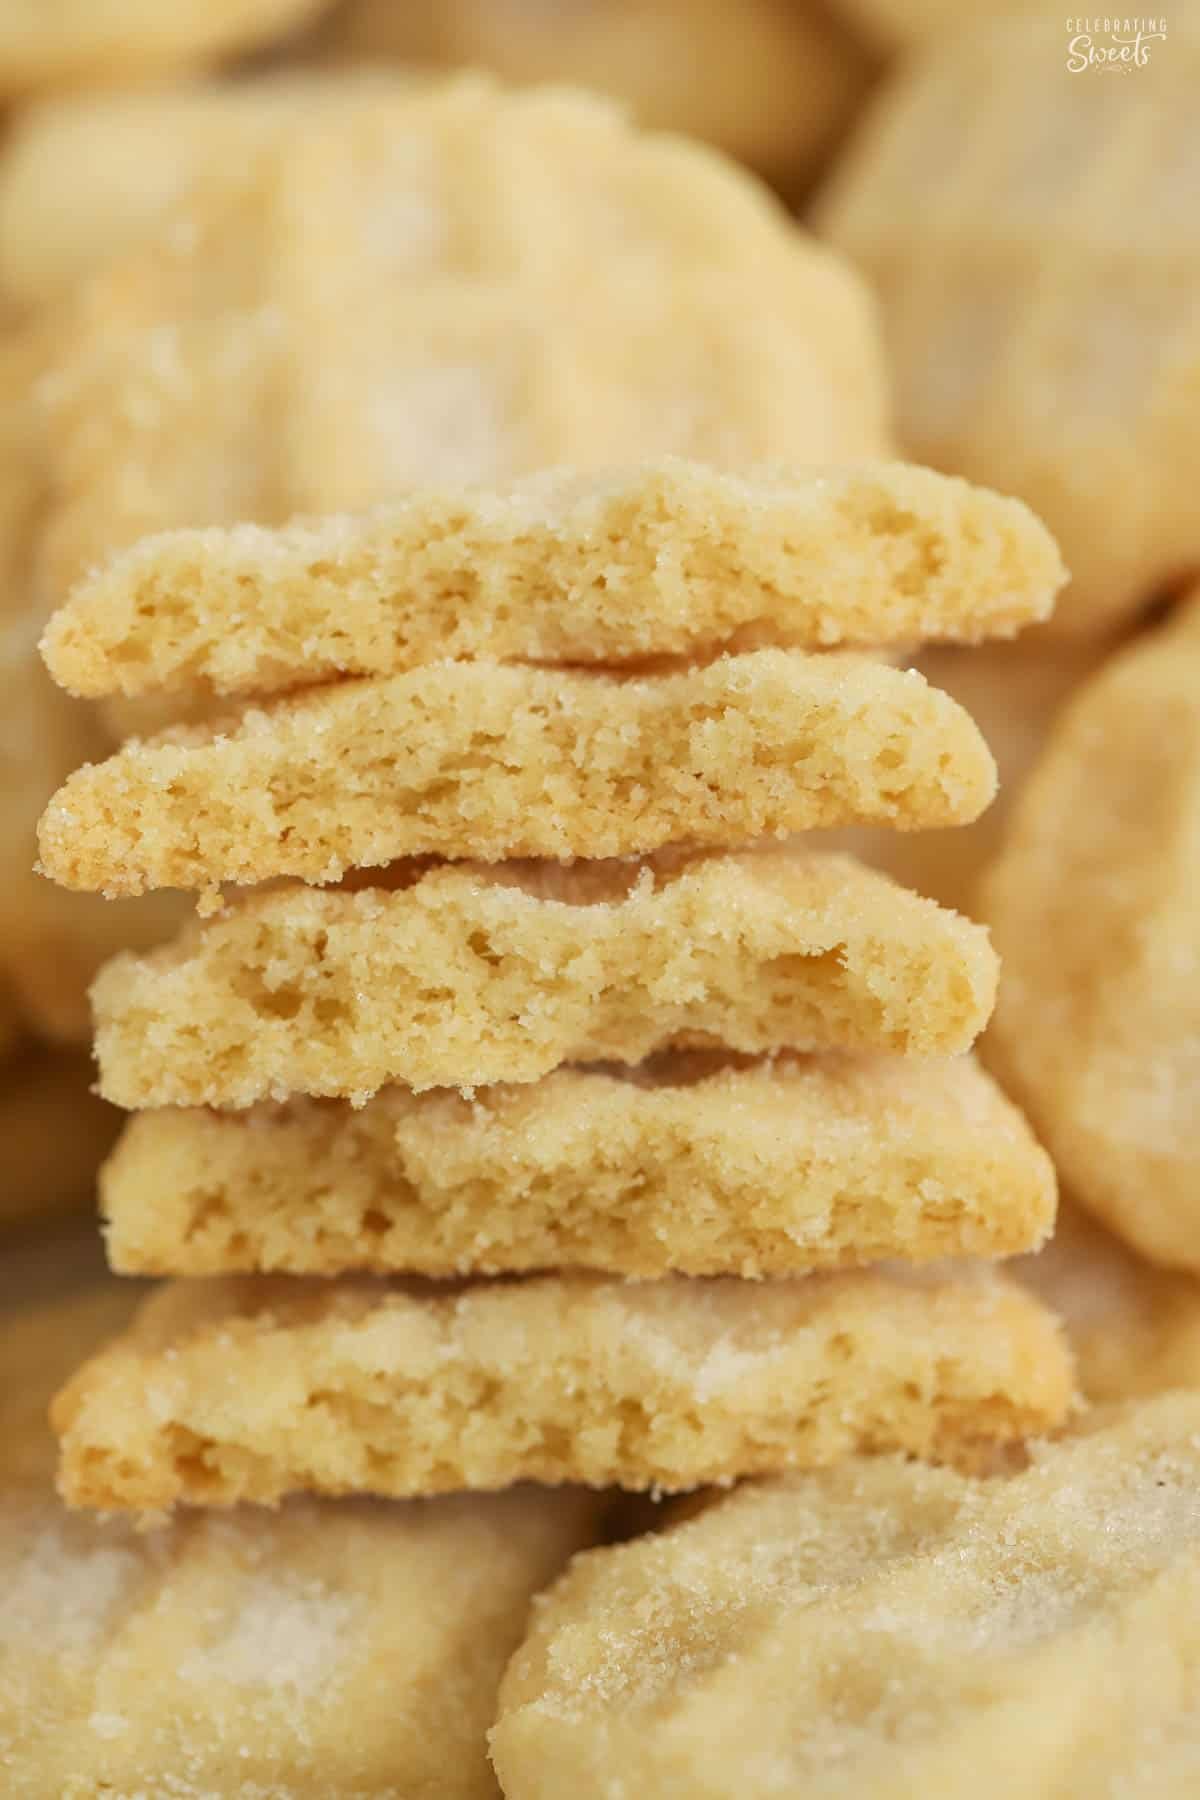
Unique texture: A unique crispy, crunchy, melt-in-your-mouth texture.
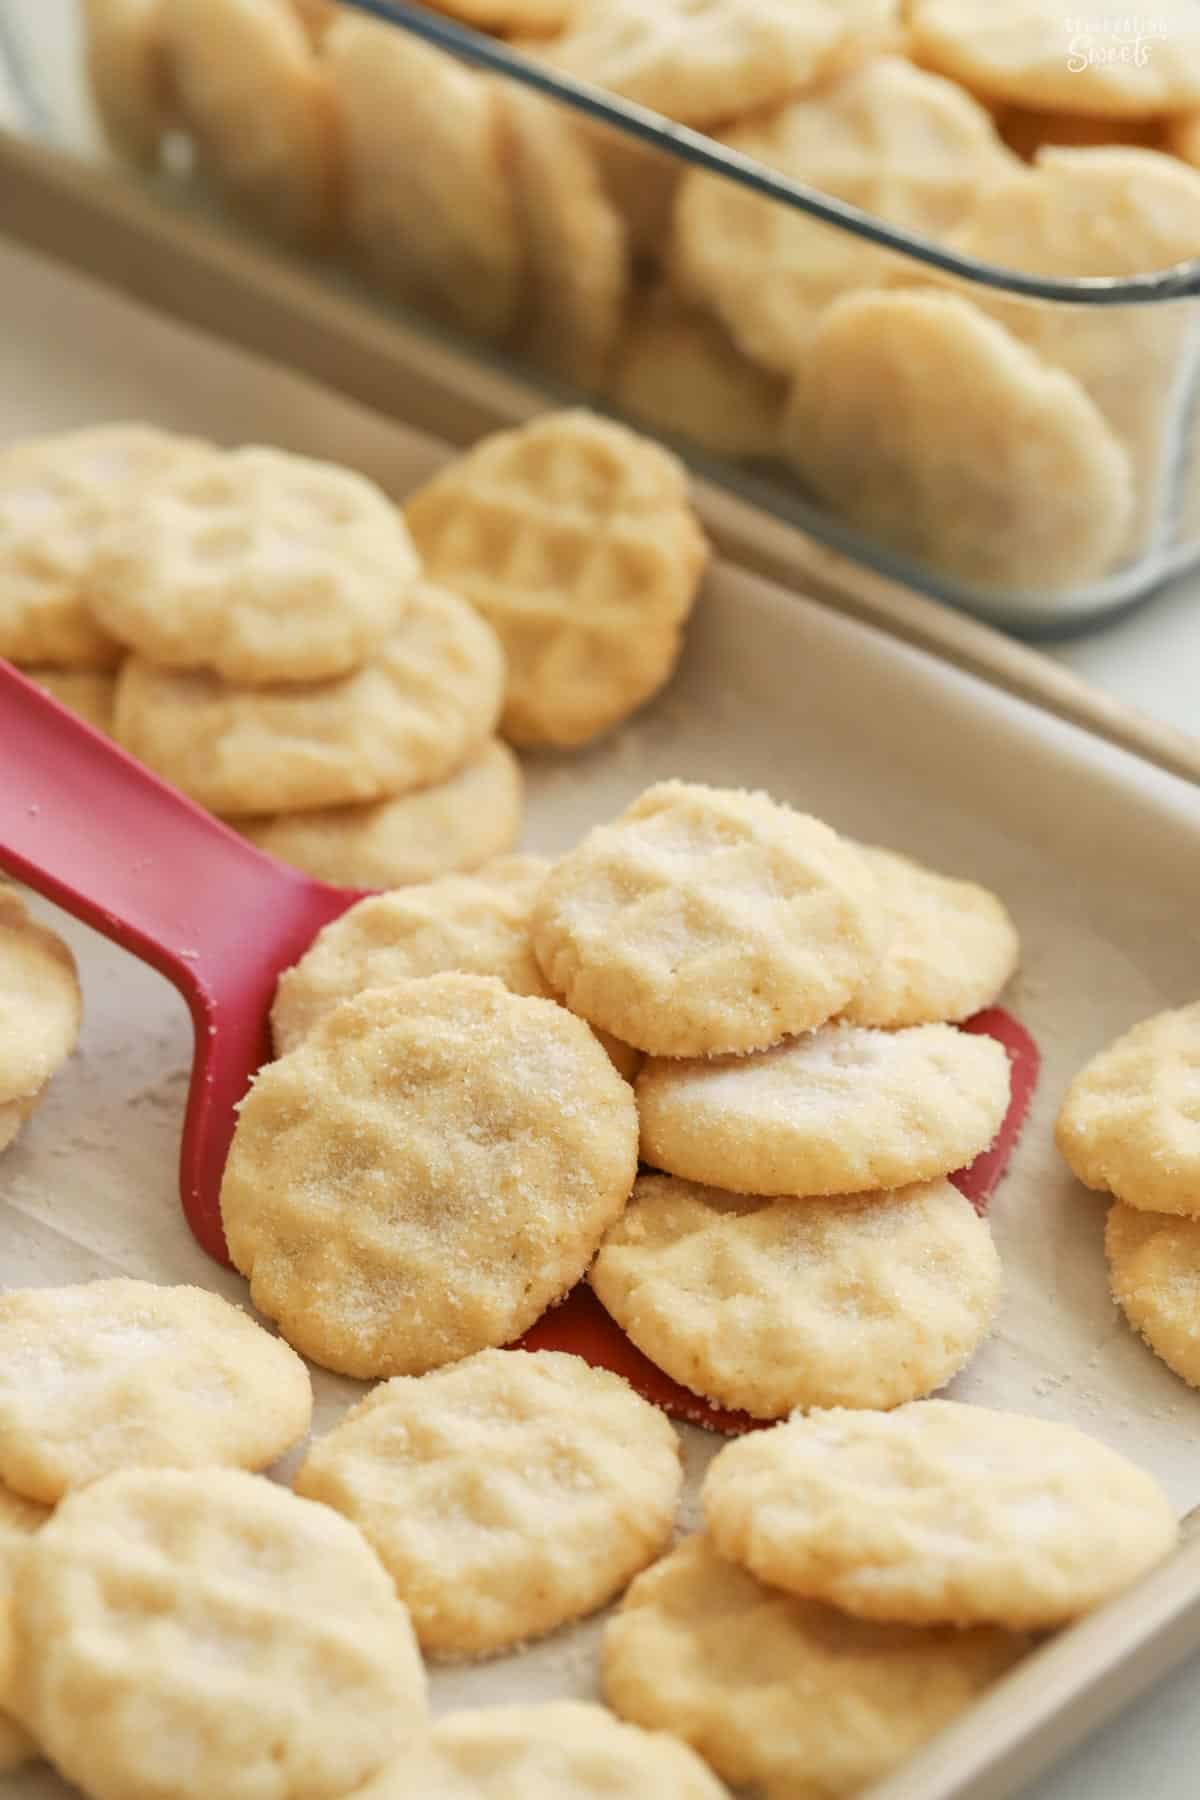
Recipe size: This recipe makes a lot of tiny bite-sized cookies. Perfect for sharing during the holidays!
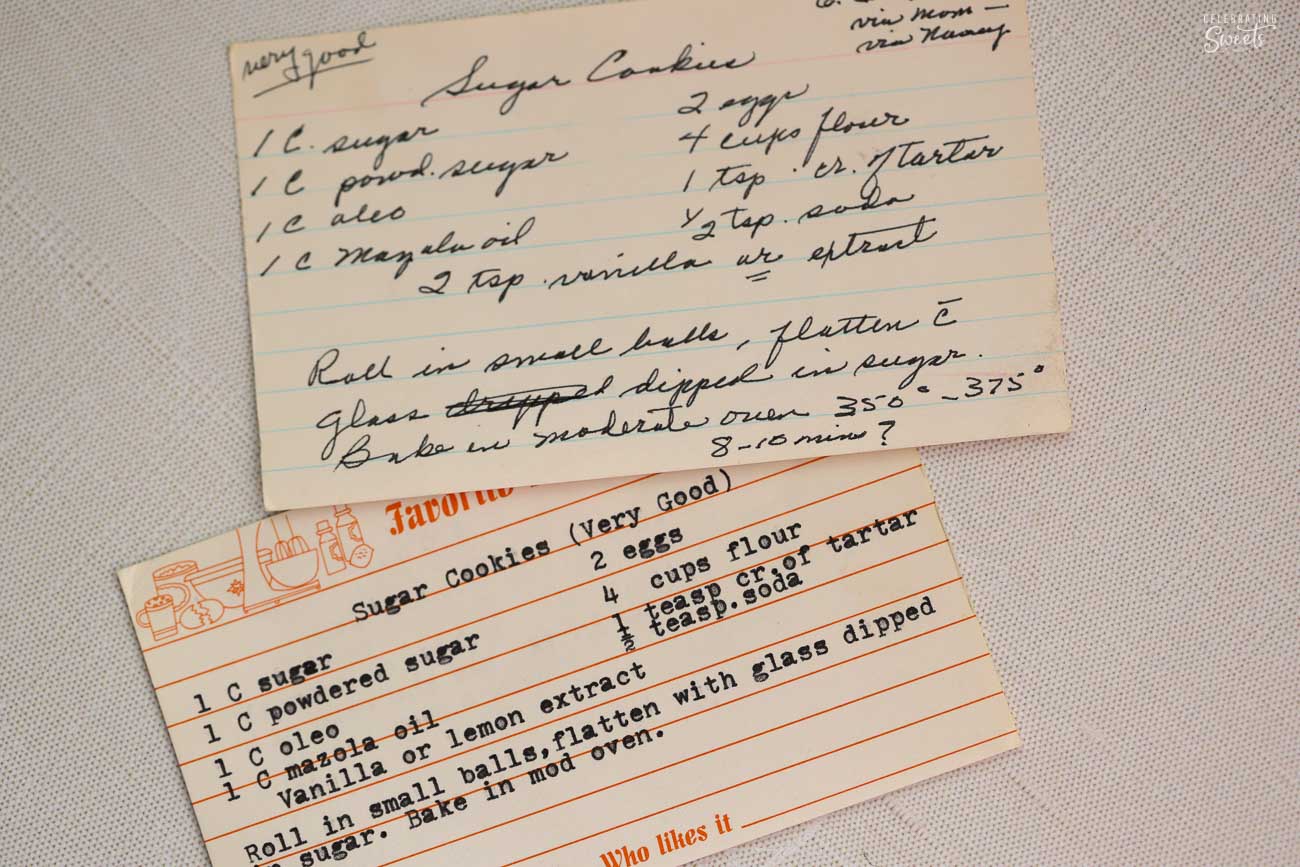
Old fashioned: This recipe has been adapted from a popular sugar cookie from my grandma’s recipe box.
Key ingredients
A combination of butter and oil gives these cookies a crispy, buttery texture.
Powdered sugar add sweetness and imparts a delicate texture.
A touch of almond extract gives a bakery-style flavor.
Cream of tartar for a bit of tang (trust me!) and to keep the cookies from browning.
A sugar coating on each cookie for crunch and sweetness.
Visual recipe overview
*Full recipe below in recipe card*
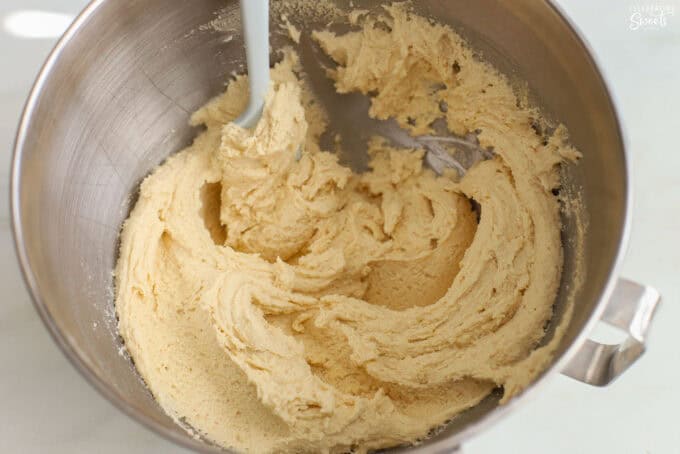
Make the cookie dough
Use a hand mixer or stand mixer to make the sugar cookie dough.
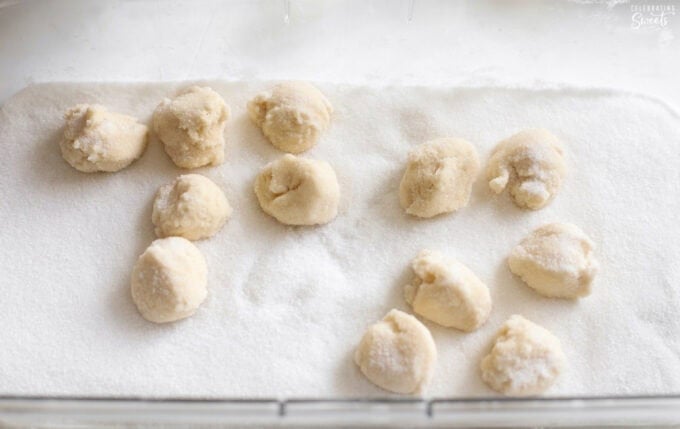
Roll in sugar
Scoop the dough and toss/roll in granulated sugar.

Flatten
Place the dough balls on a baking sheet and flatten them with the bottom of a glass or cookie stamp.

Bake
Bake for 9-12 minutes, then sprinkle the hot cookies with a little more sugar. Cool completely.

Storage
Store at room temperature for up to 3 days, refrigerated for up to 5 days, or frozen for up to 2 months.
These cookies freeze beautifully! This is a great make-ahead treat for the holidays.

Recipe

Mini Sugar Cookies
Ingredients
- ½ cup (113g) unsalted butter, softened but still cool to the touch
- ½ cup (115g) granulated sugar
- ½ cup (60g) powdered sugar
- ½ cup (108g) canola or vegetable oil
- 1¼ teaspoons pure vanilla extract
- ¼ teaspoon almond extract
- 1 large egg
- 2⅓ cups (291g) all purpose flour, spooned and leveled
- ¾ teaspoon baking soda
- ¾ teaspoon cream of tartar
- ½ teaspoon salt
- ¾ cup (173g) granulated sugar, divided , for rolling and sprinkling
Instructions
- Preheat oven to 350°F. Line three baking sheets with parchment paper. Read the notes below before proceeding with the recipe.
- In a large bowl, using an electric mixer, beat butter, granulated sugar, and powdered sugar. Add the oil, beating until combined and scraping the sides and bottom of the bowl as needed. Add egg and both extracts. It might look a little curdled, that's ok.
- In a separate bowl, combine flour, baking soda, cream of tartar, and salt. Add the flour mixture to the wet ingredients and beat until combined, scraping the sides and bottom of the bowl as needed.
- Set aside ¼ cup of sugar for topping the baked cookies. Place ½ cup sugar in a container you can use the toss the dough balls with the sugar. Something wide and flat with sides. I used a rectangular food storage container.
- Scoop the dough into 2-teaspoon portions (I scoop a heaping portion with a 1-teaspoon cookie scoop) and drop the dough balls into the sugar container (I do about 8-10 at a time). Gently shake the container or use your fingers to coat the dough balls in sugar.

- Place the dough balls a couple inches apart on the prepared baking sheets (I do about 30 dough balls per sheet). Use a cookie stamp or the bottom of a glass to flatten each dough ball.

- Bake for 9-12 minutes until the cookies have puffed and are beginning to set around the edges (they will crisp up as they cool). Place the pans on wire racks and immediately sprinkle the tops with some of the reserved sugar. Cool completely before storing.


Notes
Equipment:
I use this 1-teaspoon cookie scoop and this cookie stamp (Target partner link). If you don’t have a scoop, use two small spoons. If you don’t have a stamp, just use the bottom of a drinking glass.Dough:
This dough is quite soft since it is made with a combination of butter and oil. I find that a cookie scoop or two small spoons work best for scooping it. Rolling the dough balls in sugar also makes them easier to work with.Assembly:
Once I have a full pan of cookie dough ready for the oven I bake it. While pan one is baking I work on scooping the second batch. While batch two is baking I scoop the third batch. It usually takes me three pans and about 40 minutes to make 90-100 cookies.Baking pans:
If you only have one or two baking sheets you will need to make these cookies in batches. Do not put cookie dough on a hot baking sheet, be sure to cool the baking sheets completely between batches.Storage:
Store at room temperature for up to 3 days, refrigerated for up to 5 days, or frozen for up to 2 months. These cookies freeze beautifully!Nutrition
Nutritional Information is an estimate based on third-party calculations and may vary based on products used and serving sizes.
 Tried this recipe?Leave a comment and rating below!


Kathleen says
I’m looking for the macaroon that’s been dipped in chocolate. I can’t find the recipe. Could you please send it to me?
Allison Mattina says
Hi! I don’t have a typical coconut macaroon recipe. Could it be this recipe?
LInda says
Could you please tell me the serving size for the nutritional information? Thanks
Allison Mattina says
Hi. Nutrition information is for one cookie made with about 2-teaspoons of cookie dough.
BettyEllen says
Quick, easy and delicious!
Allison Mattina says
I’m glad you enjoyed them!
Yvonne says
I made these today and they spread quite a bit in the pan. I don’t know if it is the humidity here in Florida or what it could be but all my cookies lately are spreading. They do taste delicious though, and I thank you very much for your recipe.
Allison Mattina says
Hi, Yvonne. Some spread is normal. The humidity could be a factor, perhaps adding a little extra flour would help. Also, I’ve heard some recent issues with cookies spreading when using Costco/Kirkland brand butter. Just FYI, if that’s a product you purchase. Happy holidays!
Alexis says
Wonderful recipe! I decided to change up the ending by rolling them and topping them in cinnamon sugar instead of regular sugar and I swear they taste like Cinnamon Toast Crunch cereal! They were an absolute hit at my family reunion 🙂
Allison Mattina says
Oh! Great idea! I’m glad you enjoyed them. 🙂
Erin Halstvedt says
since finding this wonderful sugar cookie recipe. I have made it over a dozen times. so quick and easy. and they freeze well
we have used peppermint and lemon instead of the almond extract. both turned out great. I am excited to try different extracts
Allison Mattina says
Thanks for sharing your experience. I’m glad you enjoyed the recipe. 🙂
connie chinen says
The first thing I noticed in your recipe was the hand written notecard. These are priceless and unfortunately, becoming a thing of the past. Treasure it! It would be great to get some printed onto wood, a kitchen towel ect… for yourself or future generations. I can’t wait to try these cookies.
Allison Mattina says
I’m glad you noticed and appreciated that. 🙂