Maple Pecan Pie Bars made with a brown sugar shortbread crust and a gooey maple pecan filling. Sweet, salty, crunchy, chewy – absolutely addicting! With no crust to roll out, these bars are even easier than pecan pie.
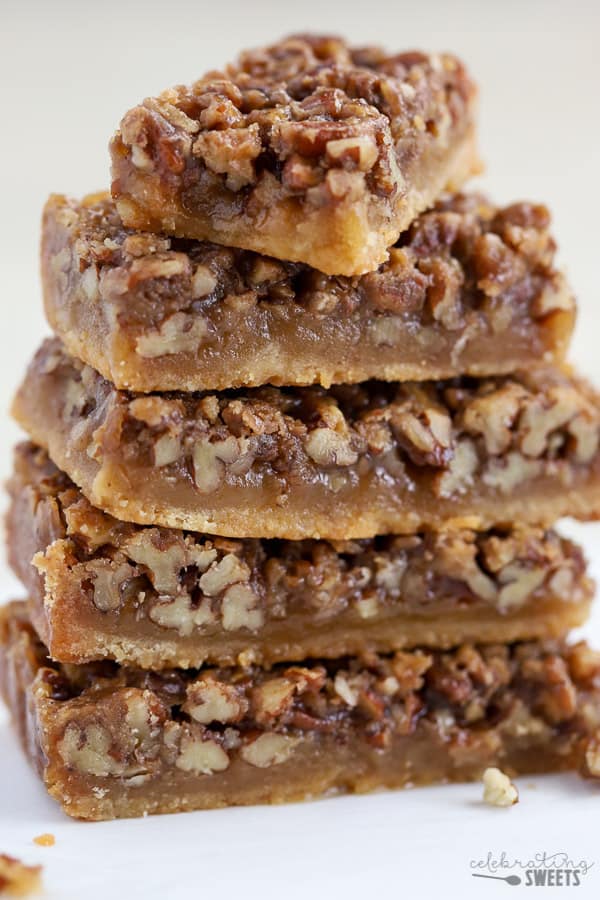
You are looking at one of my all-time favorite recipes. You are also looking at what I have eaten for every meal dessert for the past week. And, you are also looking at the reason I need to spend 100 hours in the gym. Totally worth it, though.
This is one of the first recipes I originally shared 5 years ago. It was an immediate family favorite, and a recipe that I continue to make every holiday season. I updated the photos and made a couple tiny tweaks to the recipe itself (it’s better than ever, guys).
You might also like: Maple Oatmeal Cookies, Maple Pecan Pie, Pecan Pie Brownies, Chocolate Coconut Pecan Bars
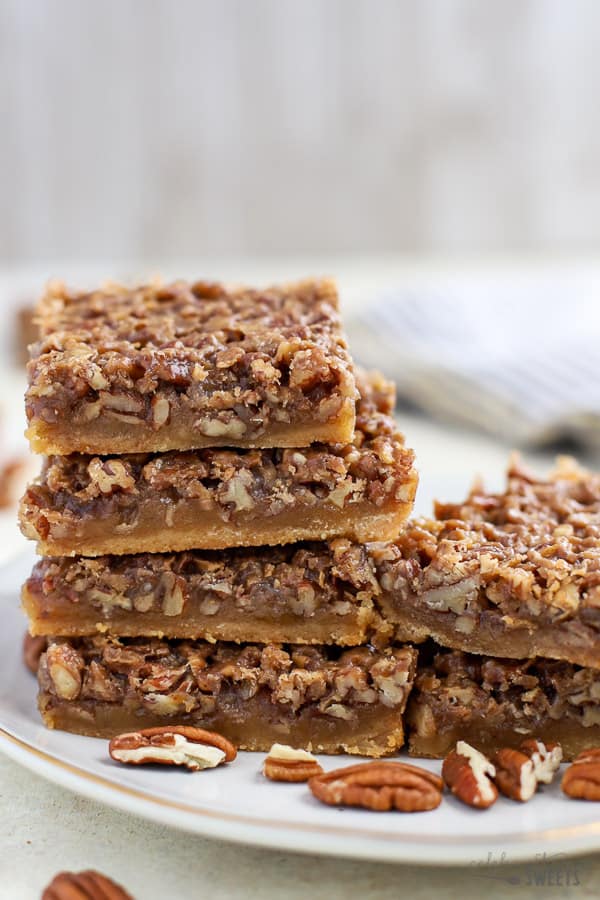
These Maple Pecan Pie Bars taste like the BEST pecan pie you’ve ever eaten. MELT IN YOUR MOUTH perfection. A brown sugar crust, a sweet and sticky maple filling (no corn syrup here), chopped pecans, and a finishing sprinkle of sea salt.
I like to think of these bars as a less fussy and way better tasting version of pecan pie. As Ina Garten would say, pecan pie “with the volume turned up.”
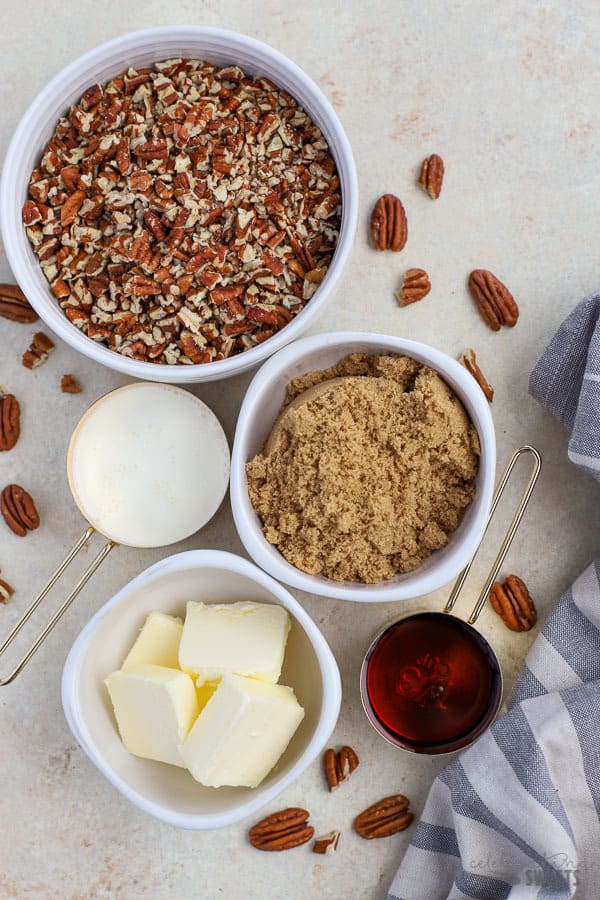
How to Make Pecan Pie Bars
- Shortbread Crust – The easiest crust you’ll ever make – no rolling out dough! A quick brown sugar shortbread gets mixed up – butter, flour, brown sugar, and salt. This crumbly mixture gets dumped into a foil-lined 9×9 baking dish and pressed into an even flat layer. The crust gets a head start in the oven while we prepare the filling.
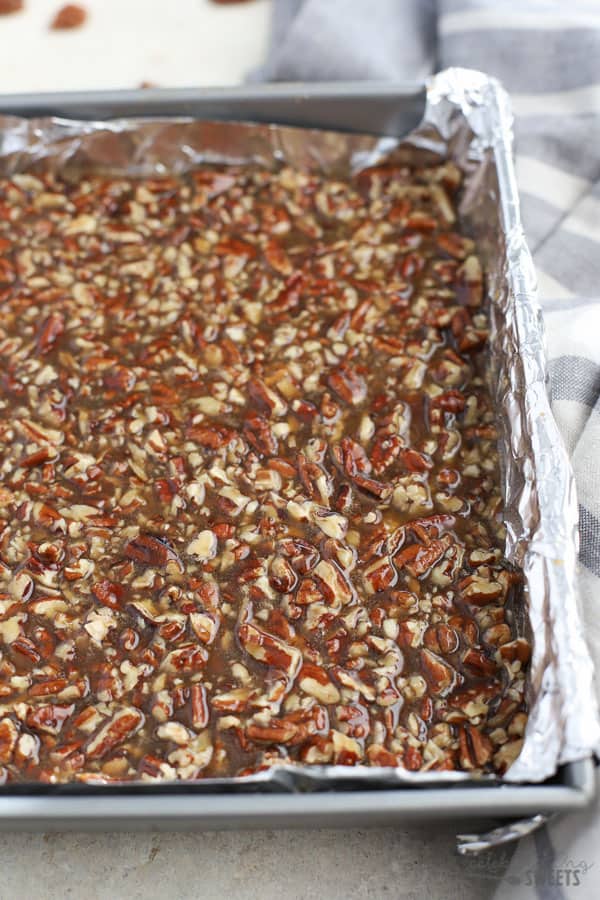
- Maple Pecan Pie Filling – This filling is different than traditional pecan pie in that there are no eggs and no corn syrup. The mixture is sweetened with brown sugar and pure maple syrup. Butter and milk add richness and moisture, which helps our filling bake into a thick and gooey masterpiece. This mixture simmers on the stovetop for a solid minute, then gets poured over our beautiful crust. And back to the oven it goes.
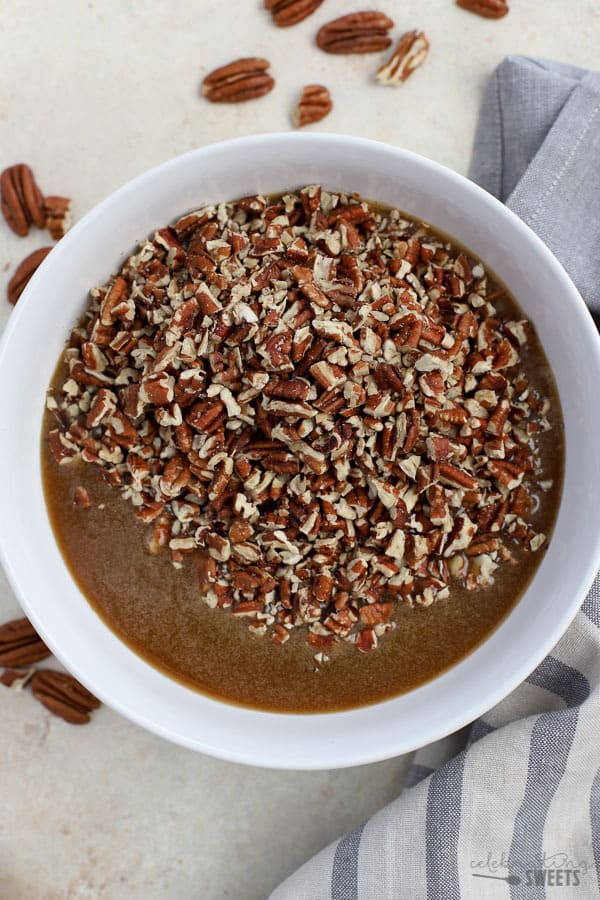
How to Cut and Store Pecan Pie Bars
- Cool the bars completely before you cut them. I cool the pan to room temp, then transfer to the fridge to cool completely. They are easier to cut when chilled.
- Lift the whole pan of bars out of the baking dish – this is easy to do since it’s lined with foil. Use a very sharp knife to cut into desired pieces.
- I recommend storing these bars in the refrigerator (bring to room temp before serving). When they are chilled and firm, they can be easily packed up and transported.
- These bars travel really well. Pack them (still chilled) in a food storage container with parchment paper between each layer. Note: These are sturdiest when cold. If you are traveling with them you might want to put a couple ice packs around the food storage container. Once they come to room temperature they will soften significantly – this is how they taste the best!
Can I Freeze Pecan Pie Bars?
- Yes, yes, absolutely YES! These bars freeze beautifully.
- Pack them up when they’re chilled and layer them with parchment paper in a tightly sealed food storage container.
- Bring the bars to room temperature before serving, and/or occasionally steal chewy cold bites straight from the freezer. 😉
- These bars will last 1-2 months in the freezer. Although, we always eat them way before that.
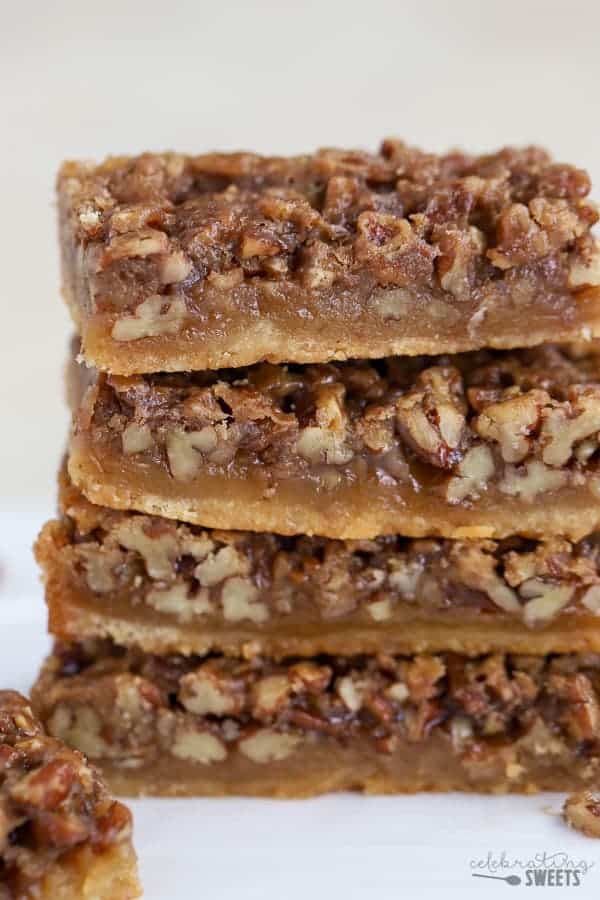
Everyone goes crazy for the gooey, crunchy, sweet, and buttery textures and flavors going on here. These make a fantastic addition to any holiday gathering, and they are the perfect way to end a meal on a sweet note.
NEVER MISS A RECIPE! SUBSCRIBE to our free EMAIL LIST – LIKE us on FACEBOOK – Follow on INSTAGRAM
Recipe
Maple Pecan Pie Bars
Ingredients
For the crust:
- ½ cup unsalted butter, softened
- ⅓ cup brown sugar, firmly packed
- 1 ⅓ cups all purpose flour
- ¼ teaspoon salt
For the filling:
- 6 tablespoons butter, diced
- ¾ cup brown sugar
- ⅓ cup pure maple syrup
- ⅓ cup milk, whole or 2%
- 2 cups chopped pecans, the smaller you chop them the easier it is to cut the bars
- ⅛ to ¼ teaspoon salt, optional, I prefer flaked sea salt
Instructions
For the crust:
- Preheat oven to 350°F. Line an 9×9 square baking pan with foil, leaving a couple inches overhang. Spray or butter the foil.
- Beat butter and brown sugar for several minutes. Add flour and salt, beat until thoroughly combined. Dump the mixture (it will be crumbly) into the prepared pan and press it evenly into the bottom of the pan. Bake for 15 minutes. When the crust has about 5 minutes left to cook, start the filling.
For the filling:
- In a medium saucepan, combine butter, brown sugar, maple syrup, and milk. Bring to a simmer, stirring occasionally. Once it begins simmering, simmer for one full minute. Remove from the heat and stir in the pecans.
- Carefully pour the filling evenly over the crust (gently spread it around with a rubber spatula so that the nuts and liquid are evenly distributed).
- Return to the oven and cook for an additional 15-18 minutes. The mixture should be bubbling, and the very center will still be slightly jiggly, it will thicken as it cools. Remove from oven and sprinkle with ¼ teaspoon salt (optional).
- Cool completely before cutting into squares or bars. Note: Once cooled to room temp I transfer to the pan to the fridge. The colder they are the easier they are to cut. Use the foil overhang to remove the whole pan of bars before cutting. I serve them at room temp.
Video
Notes
Nutrition
Nutritional Information is an estimate based on third-party calculations and may vary based on products used and serving sizes.
teri tatu says
These look delicious and I want to make them for an upcoming potluck. Thanks for all your wonderful recipes!
Betty says
Is there a print friendly option?
Celebrating Sweets says
No problem, Betty! I was just about to respond to you. 🙂 Enjoy!
Betty says
I found it!!!! sorry.
Anne says
Thanks for the recipe. I’ve just made it with cashews replacing the pecans and honey replacing the maple syrup. The house smells lovely. Thank you.
Celebrating Sweets says
That sounds delicious, Anne. Thanks for taking the time to come back and share your version. Enjoy!
Demeter says
This is so perfect for fall! I can see why they’re such a family favorite!
Toni Dash says
These are making me drool!
Catalina says
This is a must try recipe! So perfect for Fall snack!
Sandra | A Dash of Sanity says
This is making me drool! Looks really yummy!
Karly says
This dessert looks amazing! Definitely making these!
Misty says
Made these and they are amazing. This is my new favorite treat.
Celebrating Sweets says
I’m glad to hear that. They’re one of my favorites, too! Thanks for taking the time to comment. 🙂