
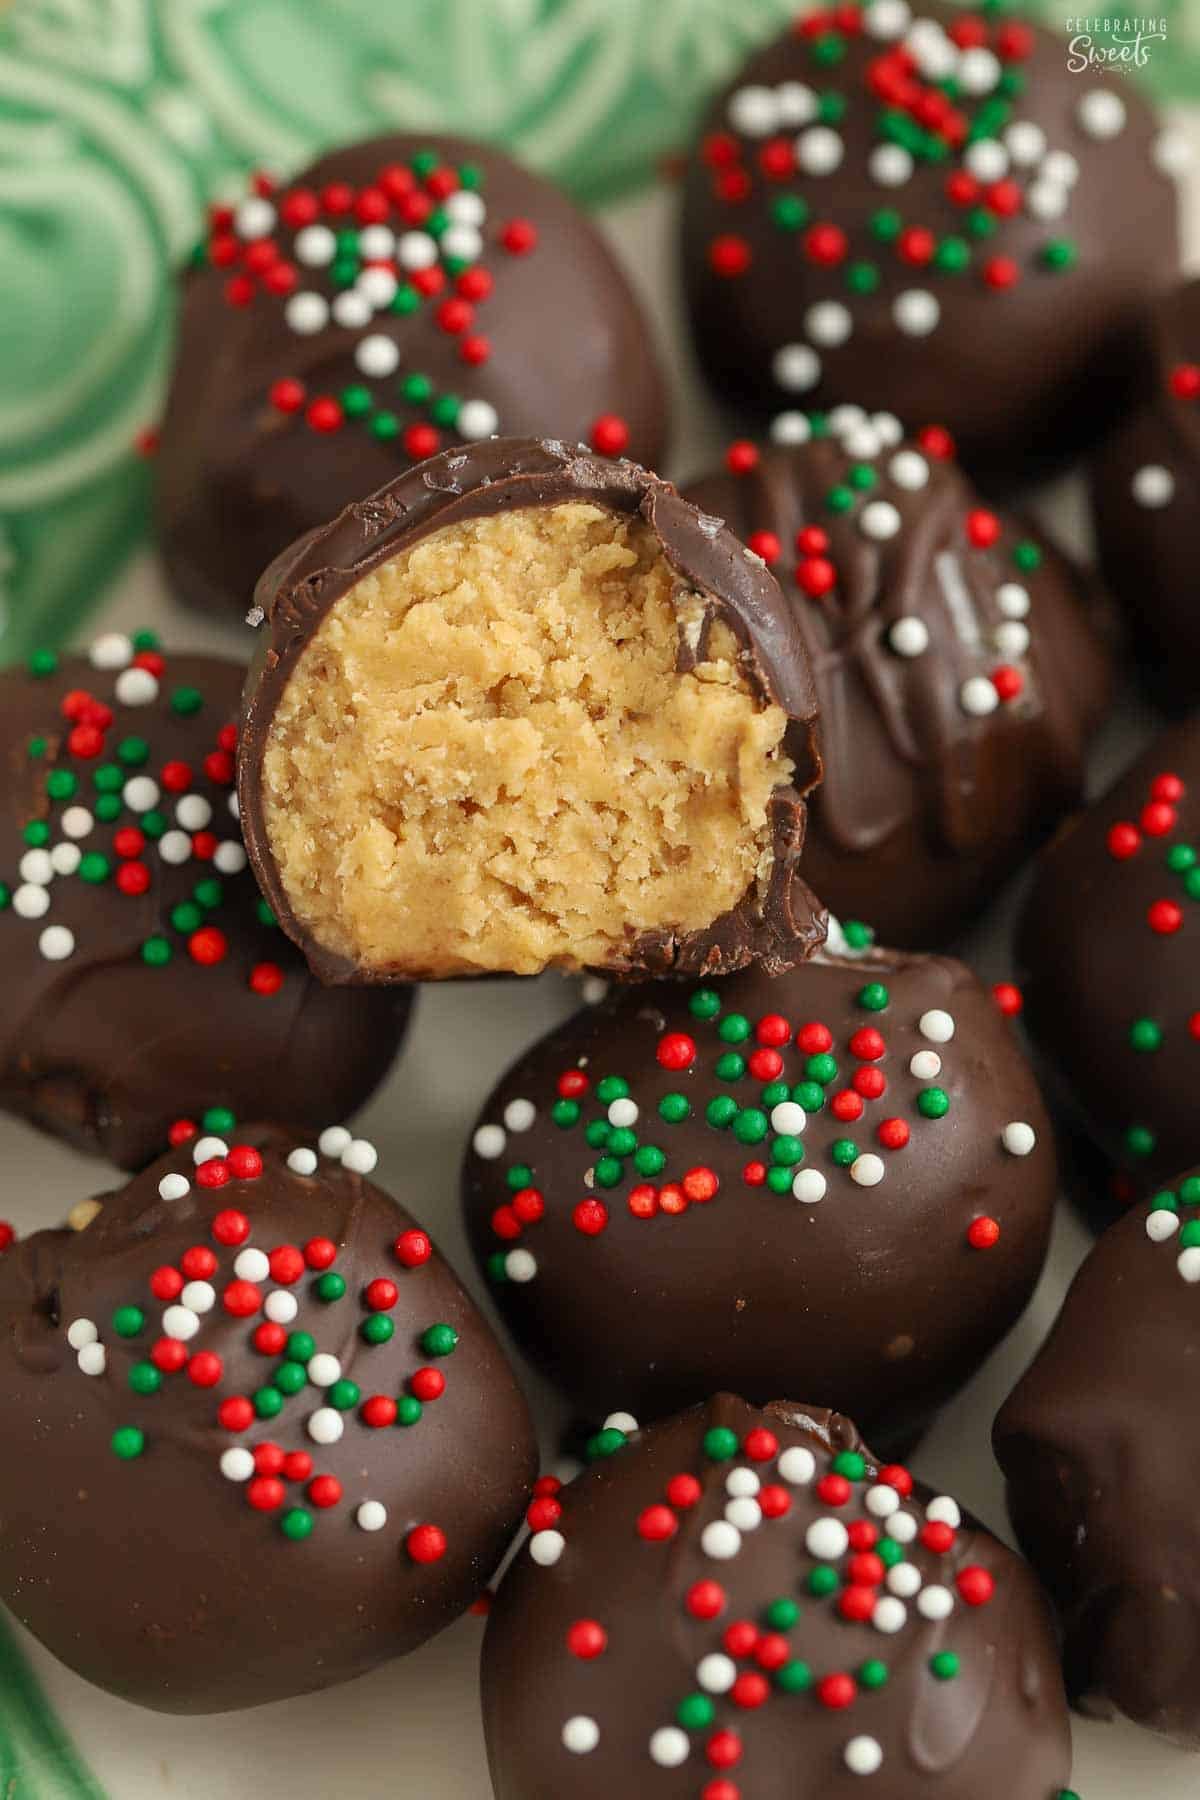
No-bake peanut butter balls are the ultimate homemade treat. They taste like a peanut butter cup and they’re made with simple pantry ingredients. This is the perfect recipe for a holiday spread, edible gifts, or just because!
What sets this recipe apart
No bake, no fuss: No stovetop cooking and no candy thermometer. They’re approachable for beginners yet consistently impressive.
Balanced flavor: I found most recipes for peanut butter balls to be way too sweet. These have the perfect amount of peanut butter flavor balanced with just the right amount of sweetness.
Make ahead: Pop these in the fridge for several days or freezer for a couple months. They hold up well without losing their texture.
Visual recipe overview
*Full recipe below in recipe card*
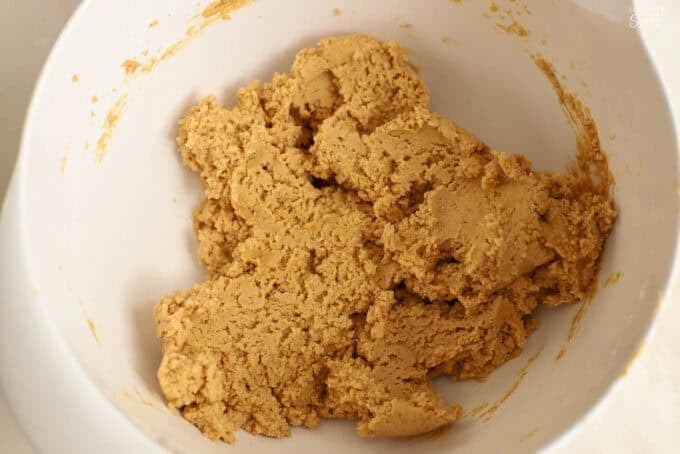
Peanut butter mixture
Combine peanut butter, graham cracker crumbs, butter, powdered sugar, hot water, and salt.
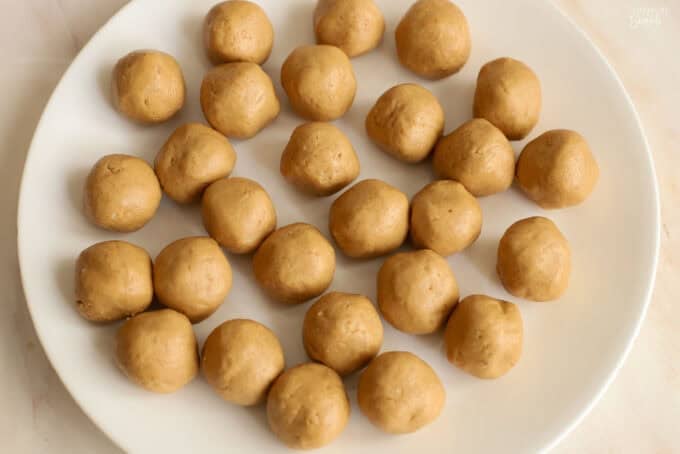
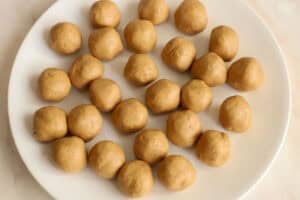
Scoop and chill
Scoop the peanut butter mixture and roll into balls. Chill.
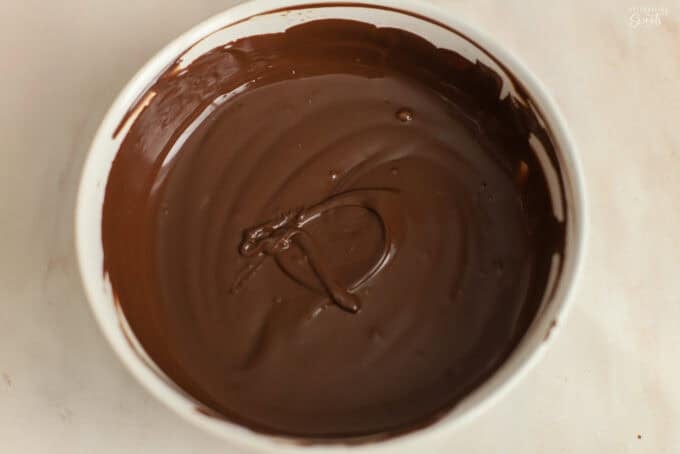
Melt chocolate
Microwave chocolate candy melts until smooth.
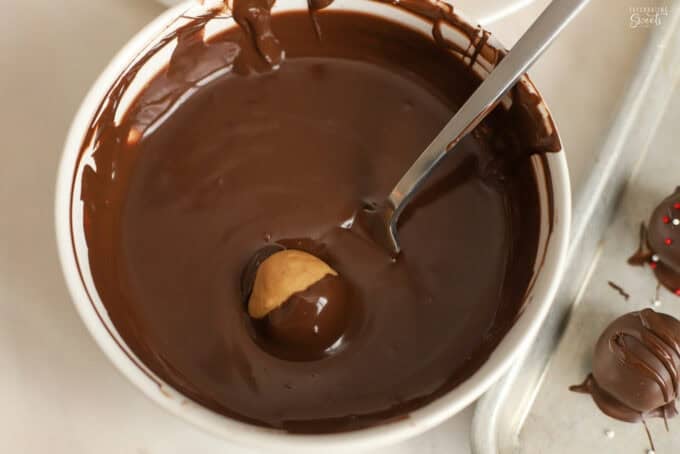
Dip and decorate
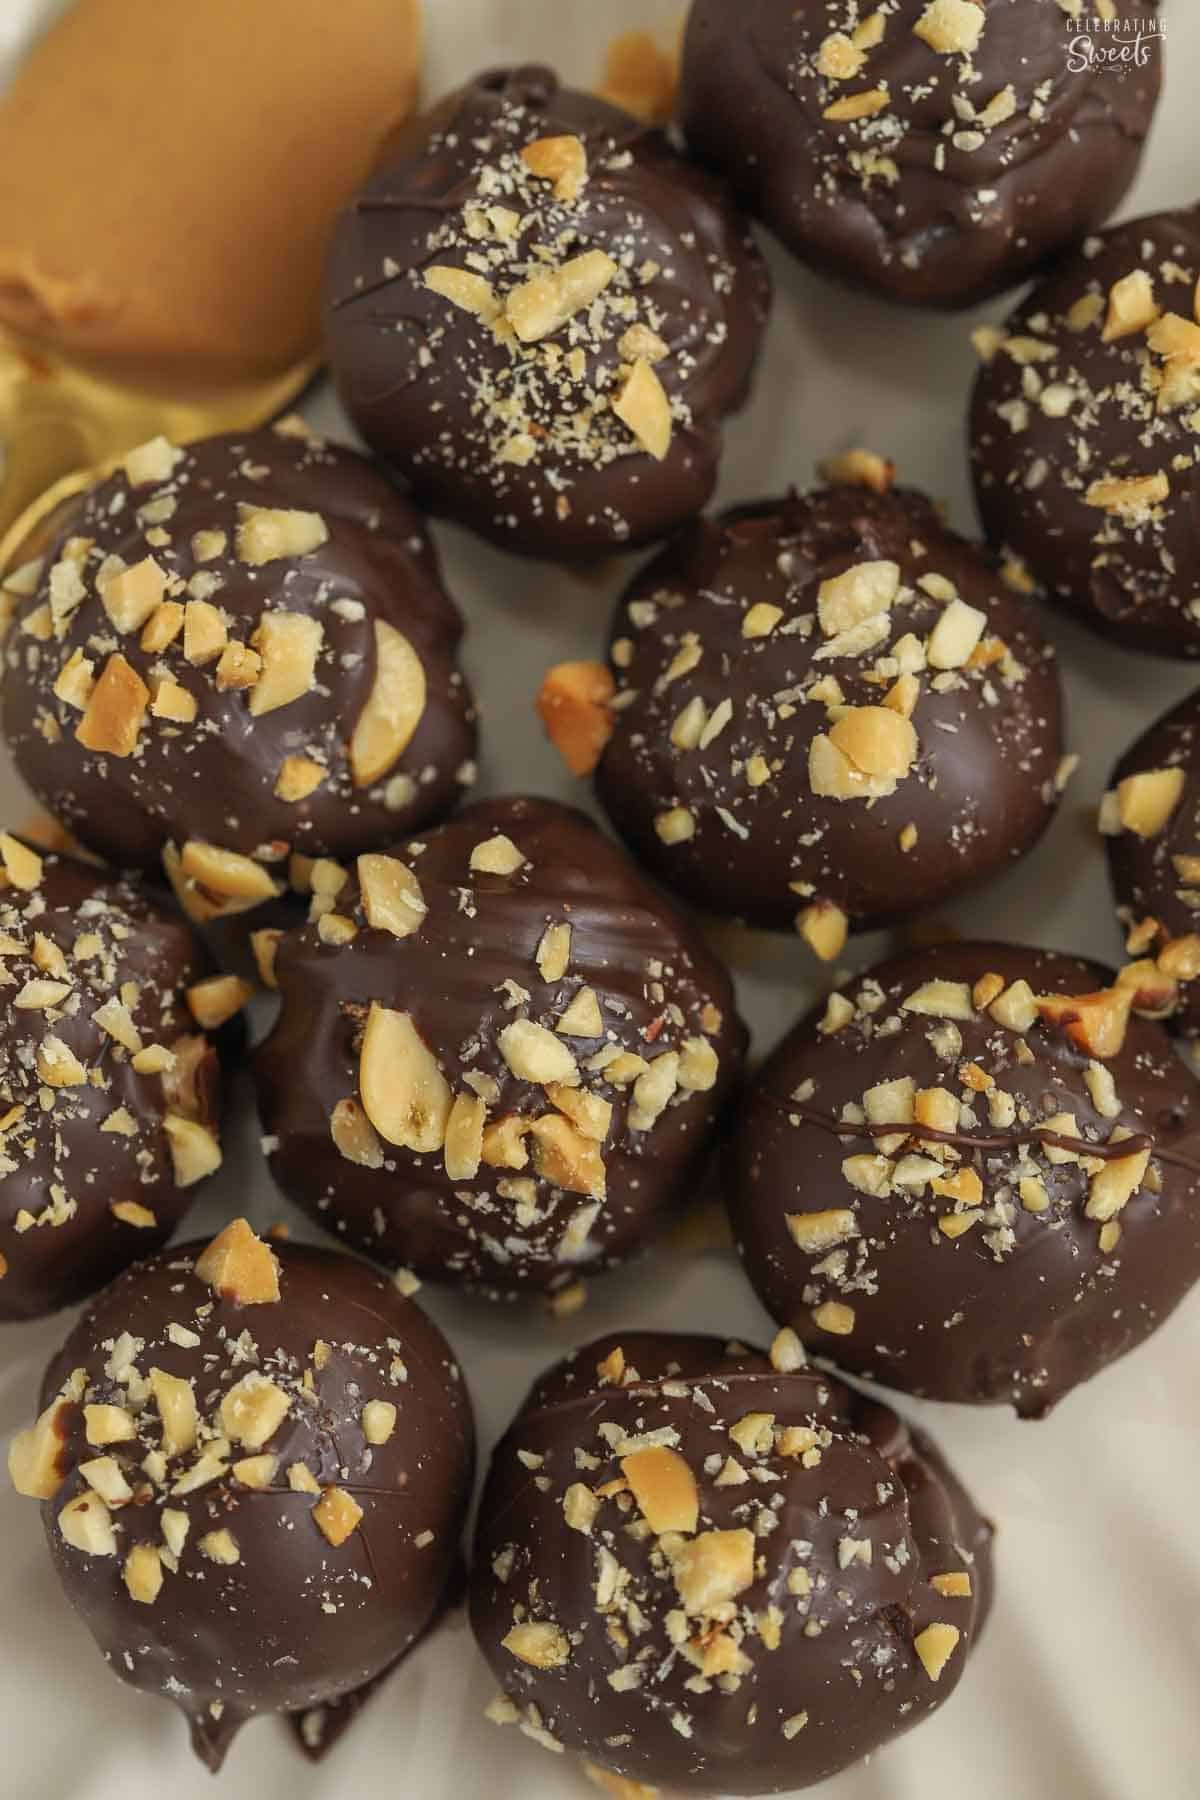
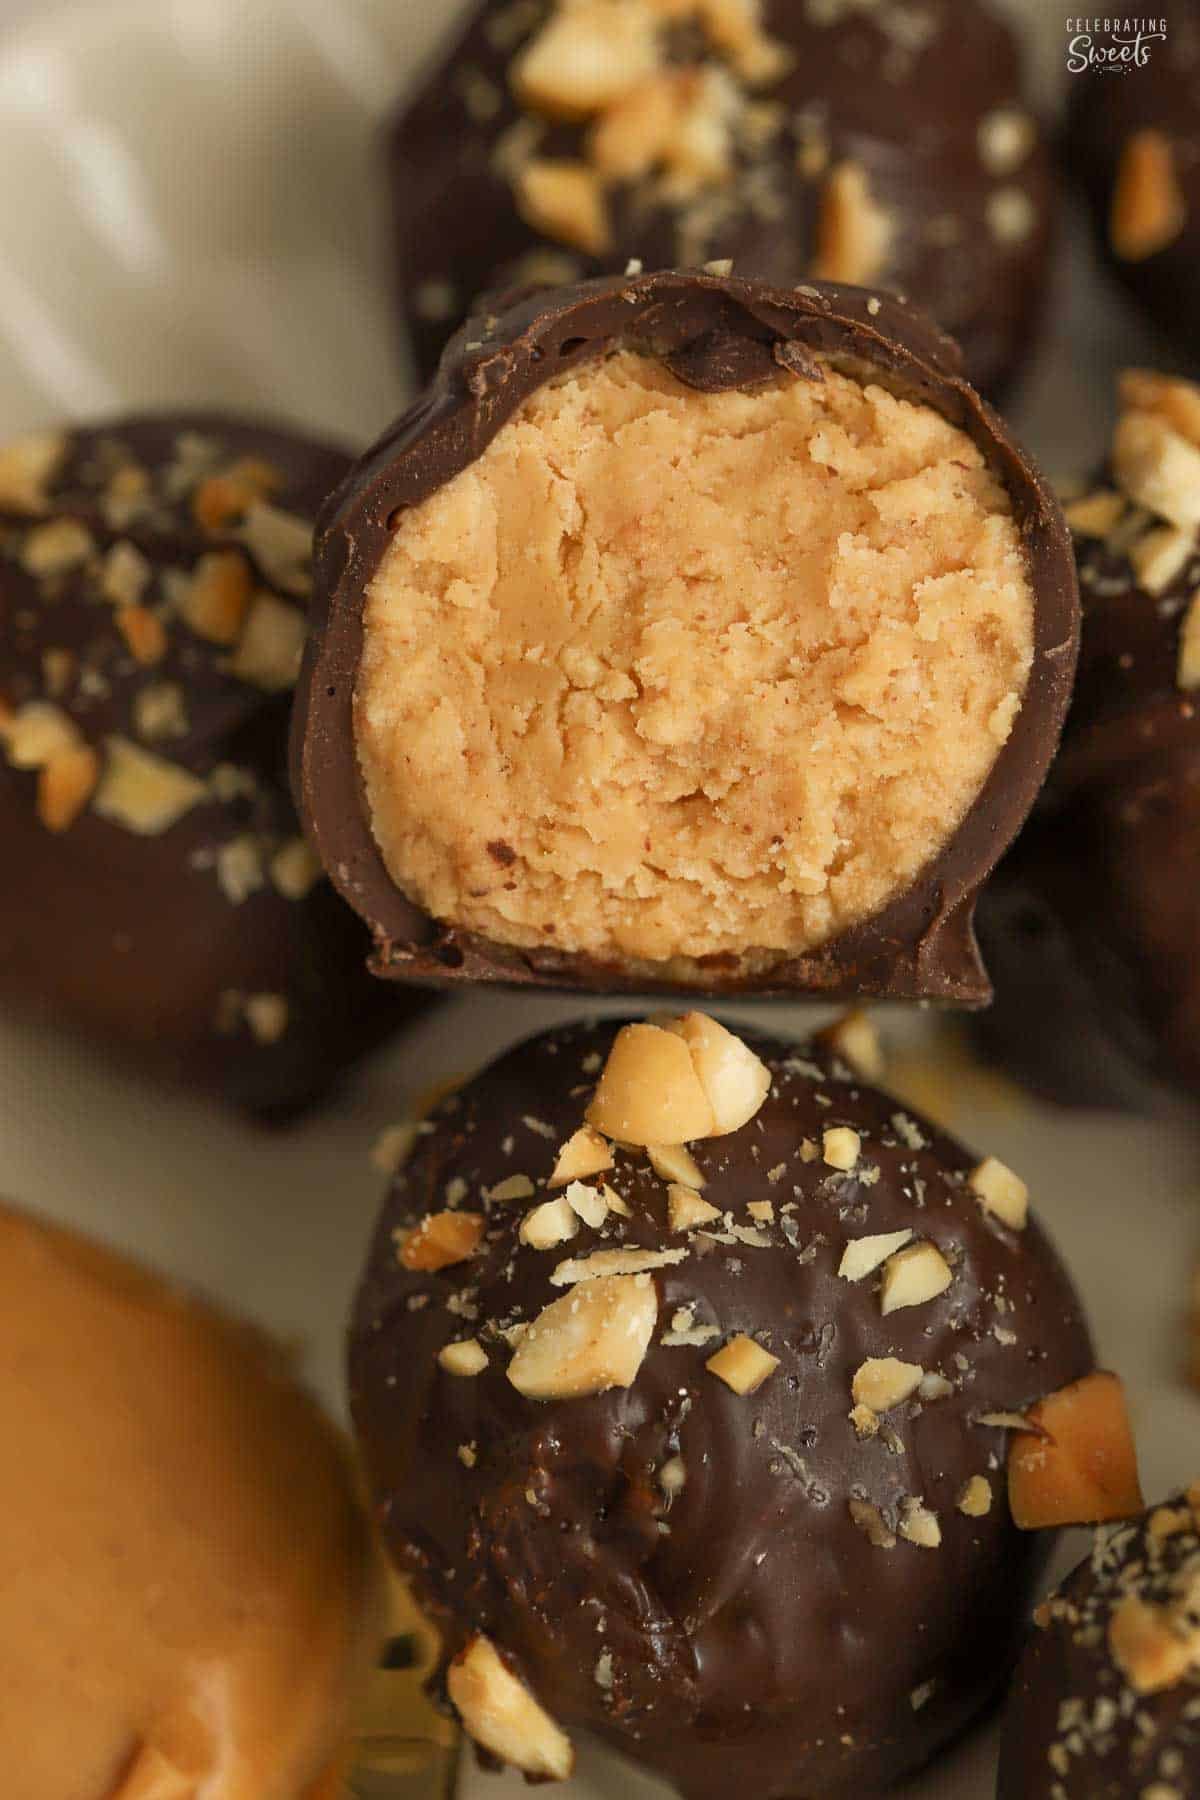
Dip the peanut butter balls in melted chocolate and immediately top with garnishes (if desired). Chill until the chocolate firms up.
My recipe testing tips and notes
Peanut butter: It is very important that you use an emulsified (not natural) peanut butter, such as Jif or Skippy. Natural peanut butter will have oil separation which can impact the texture of the candy.
Candy melts: Rather than tempering chocolate which can be finicky, I opt for chocolate candy melts for the coating. They melt perfectly and stay the ideal consistency throughout the assembly process. Ghirardelli chocolate melting wafers are my favorite; you can use dark or milk chocolate.
Garnish options: You can garnish the top of the peanut butter balls with sprinkles, chopped peanuts, or flaky sea salt. Have your garnishes prepared and ready so you can sprinkle them on before the chocolate sets.
Timing: There are two chill times required for this recipe. One is after the peanut butter filling has been scooped and rolled into balls and the other is after dipping in chocolate. Be sure to plan accordingly, the chilling steps should not be skipped.


Recipe

Peanut Butter Balls
Ingredients
- ¾ cup (176g) creamy peanut butter, see note
- 5 tablespoons salted butter, softened to cool room temp
- 1½ cups (180g) powdered sugar
- ¾ cup (82g) graham cracker crumbs
- ¼ teaspoon salt
- 1 tablespoon hot water
- 10 oz chocolate candy coating, I use Ghirardelli melting wafers
- sprinkles and/or chopped salted peanuts, for garnish
Instructions
- In a large bowl, using a hand mixer, beat peanut butter and butter until combined. Add powdered sugar, graham cracker crumbs, salt, and hot water. Beat on low until just combined. Use a rubber spatula to scrape the sides and bottom of the bowl.

- Scoop one-tablespoon portions (a cookie scoop works great for this) and roll into a tight balls. Place the balls on a plate or small baking sheet and place in the refrigerator for one hour.
- After an hour has passed, melt the chocolate candy coating. Use a fork to gently dip each peanut butter ball in melted chocolate. Tap off the excess chocolate and place on a parchment-lined baking sheet. Top with sprinkles or peanuts before the chocolate sets. After all the balls have been dipped, transfer to the refrigerator to firm up, about one hour.


Notes
Peanut butter
It is very important that you use an emulsified (not natural) peanut butter, such as Jif or Skippy. Natural peanut butter will have oil separation which can impact the texture of the candy.Candy melts
Rather than tempering chocolate which can be finicky, I opt for chocolate candy melts/candy coating. They melt perfectly and stay the ideal consistency throughout the assembly process. Ghirardelli chocolate melting wafers are my favorite; you can use dark or milk chocolate.Storage
Store in the refrigerator for up to 5 days or freeze for up to 3 months. Serve chilled or room temp.Nutrition
Nutritional Information is an estimate based on third-party calculations and may vary based on products used and serving sizes.
 Tried this recipe?Leave a comment and rating below!
Leave a Reply